 Save
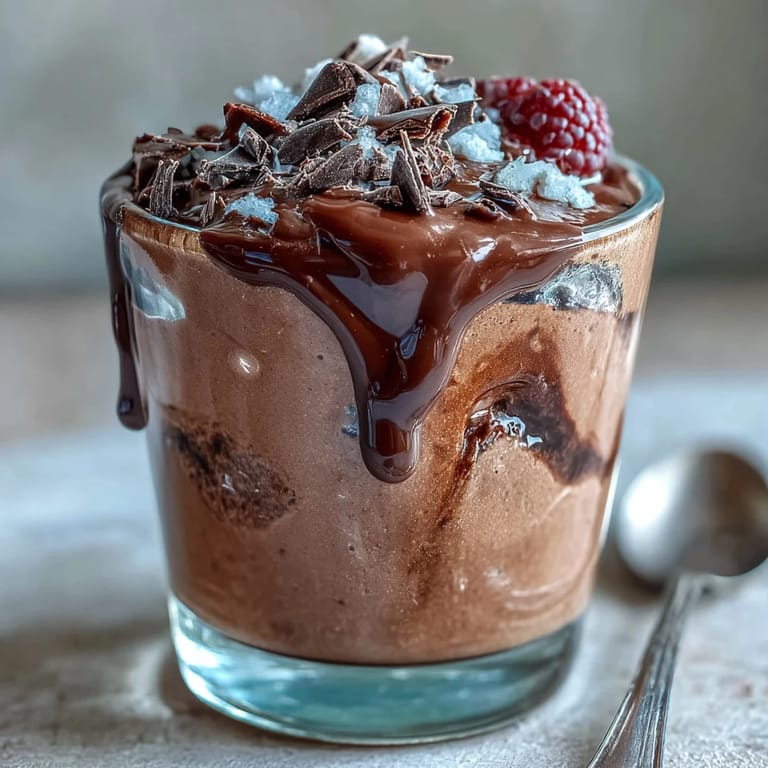
Save There&apost much you can whip up in ten minutes that tastes this indulgent, but the first time I tried making a cottage cheese chocolate mousse, I was just procrastinating on cleaning the kitchen and looking for a snack with a bit more substance. The hum of the blender drowned out my streaming playlist and suddenly the kitchen was filled with a scent so rich it immediately tempted me to dip my finger in. My dog, always present during dessert experiments, watched in hopeful anticipation as I worked. Each time I make this, I laugh remembering how skeptical I was that cottage cheese and chocolate could be such delicious accomplices.
I once made this mousse for a last-minute movie night with my sister – we ended up eating it straight from the blender bowl, still a little warm, sprinkled with berries we raided from the freezer. It was so spontaneous that we didn&apost even bother with toppings, and somehow it tasted even better because we were both laughing at ourselves for being so impatient.
Ingredients
- Cottage cheese: Gives the dessert surprising creaminess while packing in extra protein. I found full-fat yields a silkier mousse, but low-fat is just as tasty with a slightly lighter finish.
- Milk: Helps achieve that luscious, blendable texture – plant-based or dairy milk both work, but oat milk brings a little extra sweetness if you have it on hand.
- Unsweetened cocoa powder: Deepens the chocolate flavor without overwhelming the mousse. Sift it first to avoid sneaky clumps!
- Dark chocolate chips (melted): Provides richness and that familiar silky texture you want from mousse. I learned it blends more smoothly if you let it cool just a little after melting.
- Maple syrup or honey: The natural sweetener that transforms the tang of the cottage cheese into something dessert-worthy. Taste as you go since cocoa can be bold!
- Vanilla extract: Rounds out the flavors and adds warmth. Don&apost skip it – even a little elevates the mixture.
- Fresh berries, shaved dark chocolate, whipped cream (toppings, optional): Not essential, but a colorful and decadent finish if you&aposre looking to impress.
Tired of Takeout? 🥡
Get 10 meals you can make faster than delivery arrives. Seriously.
One email. No spam. Unsubscribe anytime.
Instructions
- Gather Your Ingredients:
- Round up your cottage cheese, milk, cocoa powder, melted chocolate, sweetener, and vanilla. It feels a little like prepping for a magic trick – everything simple, but transformative together.
- Blend the Base:
- Place all the ingredients into your blender or food processor and blend on high. Scrape the sides as needed – it&aposs ready when it looks cloud-like and the cocoa is fully mixed in.
- Taste Test:
- Sneak a spoonful to check sweetness and adjust with more maple syrup or honey if it needs a gentle lift.
- Serve or Chill:
- Spoon the mousse into glasses or small bowls. For the creamiest texture, let it chill in the fridge for at least 30 minutes, but I&aposll admit, sometimes I can&apost wait that long.
- Add Final Touches:
- Top with berries, dark chocolate shavings, or a generous swirl of whipped cream as the mood strikes before serving.
 Pin it
 After introducing this mousse at a small dinner with some friends, one of them confessed she&aposs never liked cottage cheese – but finished her portion and quietly asked for seconds. She still texts me every few months for the recipe when her sweet tooth strikes.
How to Make It Work With What You Have
One afternoon, I swapped in almond milk when we were out of dairy, and tossed some instant espresso powder into the mix for a mocha twist. It confirmed for me how versatile this recipe is – you can adapt the flavors for whatever you’re craving or what’s left in the pantry, and a dash of spice (like cinnamon or chili) never hurts.
Healthy Snacking, Elevated
Unlike classic mousse, this version is sturdy enough for packing into a lunchbox or for a protein boost after a workout. The first time I brought a cup to work, I was surprised how well it satisfied those late-afternoon cravings without the sugar crash.
Ideas for Next Time
Experimenting with toppings always turns this into a new treat – salty toasted nuts, a dollop of Greek yogurt, even a few cacao nibs for crunch work wonders. Lately, my favorite trick is swirling in a spoonful of peanut butter or tahini for a nutty undercurrent, but don&apost be afraid to follow your instincts and your cravings!
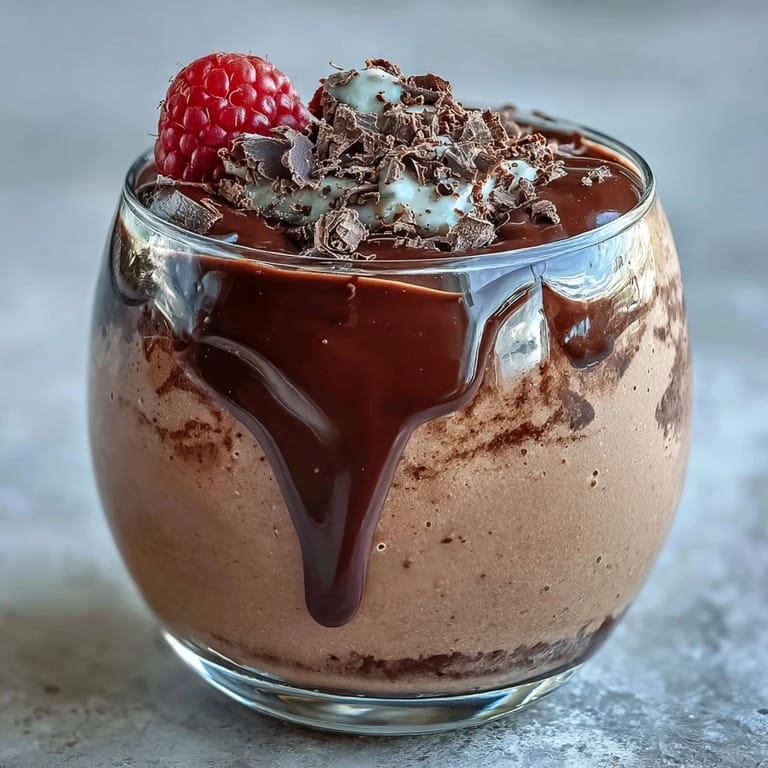
- If you&aposre feeling fancy, layering mousse with berries looks beautiful in glasses.
- Double the batch and keep extras in the fridge for quick chocolate fixes all week.
- Taste and tweak as you go – this recipe loves improvisation.
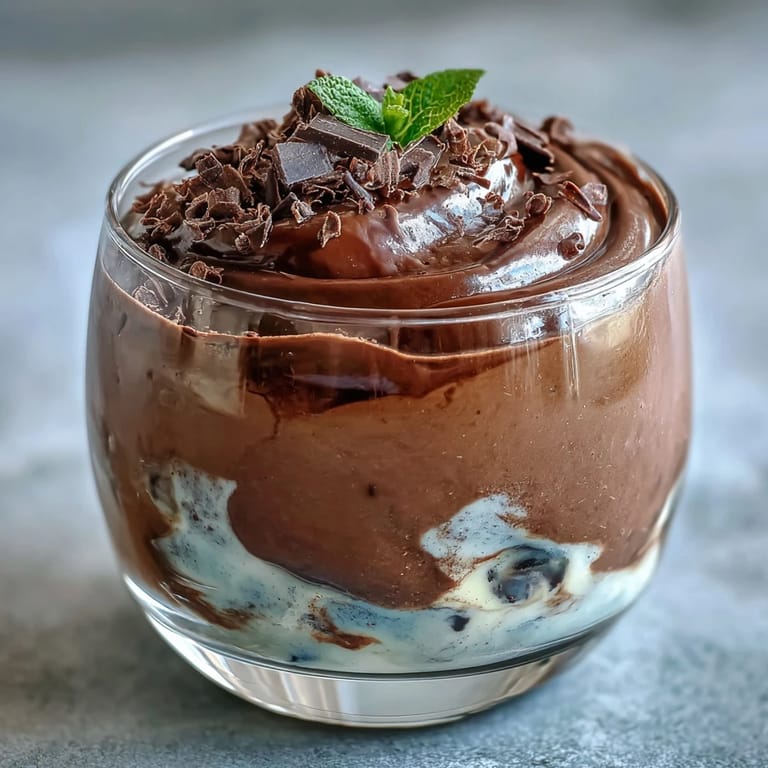 Pin it
 I hope you find a new favorite in this quick chocolate mousse just like I did – it&aposs creamy, satisfying, and never fails to surprise. Enjoy sharing it, or just keeping it all to yourself!
Frequently Asked Questions
- → How do I achieve a completely smooth texture?
Use a high-speed blender or food processor and blend for 1–2 minutes, scraping the sides as needed. If small curds remain, press the mixture through a fine mesh or blend a bit longer with a splash of milk to loosen the mixture.
- → Can I make this without dairy?
Yes. Substitute plant-based cottage cheese and use dairy-free milk and dark chocolate. Texture may be slightly different; consider adding a touch more oil or melted chocolate for extra creaminess.
- → What sweeteners work best?
Maple syrup adds a subtle flavor and blends well, but honey or agave are fine alternatives. Start with the listed amount and adjust to taste, blending and tasting between additions.
- → How long should I chill it before serving?
Chilling for at least 30 minutes helps the mousse firm and the flavors meld; for a denser texture, refrigerate 1–2 hours. The mousse keeps well covered for up to 2 days.
- → How can I make the mousse richer?
Choose full-fat cottage cheese and add a splash more melted dark chocolate. Folding in a little whipped cream before serving also boosts richness and lightness.
- → What equipment can I use if I don't have a high-speed blender?
A food processor works well; an immersion blender may be used but expect a slightly chunkier texture unless you add a bit more liquid. Work in batches if needed to ensure even blending.