 Save
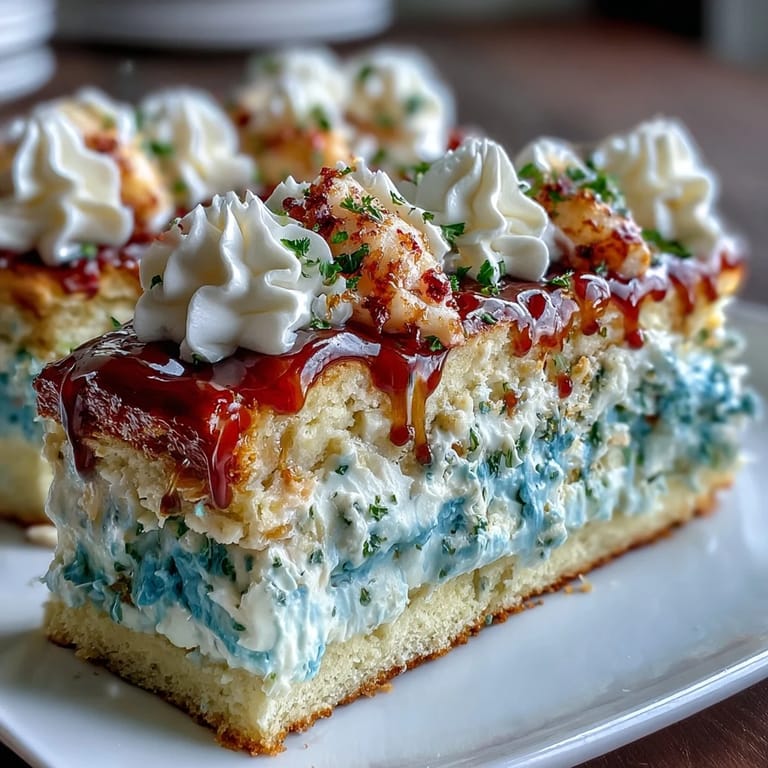
Save My cousin showed up to my kitchen one afternoon with a zodiac cookbook and said, "We're making your sign." I'd never thought much about Pisces beyond knowing I was one, but watching her describe this cake—all ocean blues and swooping waves—something clicked. By the time we pulled it from the oven, the whole kitchen smelled like butter and vanilla, and I was already imagining the look on people's faces when they saw it.
I made this for my friend's birthday dinner, and the moment she walked in, her eyes went straight to the cake. She's a Pisces too, and she literally gasped. That's when I realized this wasn't just about nailing a recipe—it was about making something that felt personal, that told a story without saying a word.
Ingredients
- All-purpose flour (2 ½ cups): This is your cake's foundation, so don't skip whisking it with the baking powder and salt to distribute the leavening evenly.
- Unsalted butter and granulated sugar (1 cup and 1 ¾ cups): Creaming these together until pale and fluffy is non-negotiable—it's where the tender crumb begins.
- Large eggs and vanilla extract (4 eggs, 1 tbsp): Room temperature eggs incorporate more smoothly, and real vanilla makes a noticeable difference in flavor.
- Whole milk (1 cup): This keeps the sponge tender and adds richness without heaviness.
- Unsalted butter for frosting (1 ½ cups): Yes, it's a lot of butter, but that's what gives the buttercream that silky, pipeable texture.
- Powdered sugar, sifted (5 cups): Sifting prevents lumps and gives you that smooth, cloud-like frosting every time.
- Blue gel food coloring in various shades: Gel colors stay vibrant without watering down your buttercream like liquid food coloring would.
- Edible pearls and white chocolate (optional): These touches transform the cake from pretty to restaurant-worthy.
Tired of Takeout? 🥡
Get 10 meals you can make faster than delivery arrives. Seriously.
One email. No spam. Unsubscribe anytime.
Instructions
- Prep your pan and preheat:
- Get your oven to 350°F while you grease and line that 9x13-inch pan with parchment. This step feels small, but it's the difference between a cake that slides out easily and one that sticks.
- Build your dry ingredients:
- Whisk flour, baking powder, and salt together in a medium bowl. This distributes the leavening so your cake rises evenly rather than creating weird dense spots.
- Cream butter and sugar into clouds:
- Beat them on medium speed for about 3 minutes until the mixture is pale, fluffy, and almost doubled in volume. Take your time here—this is where you're incorporating air that makes the cake tender.
- Add eggs one at a time:
- This matters more than it sounds. Each egg needs a moment to fully incorporate before you add the next one, and the vanilla gets beaten in right after. It creates a smoother batter.
- Alternate flour and milk gently:
- Start with flour, then milk, then flour, ending with flour. Mix only until just combined—overmixing develops gluten and makes the cake tough, which is the opposite of what we want.
- Bake with patience:
- Pour the batter into your prepared pan and smooth the top. Bake for 28-32 minutes until a toothpick comes out clean. The cake will smell incredible about 5 minutes before it's done.
- Cool strategically:
- Let it sit in the pan for 10 minutes to set, then transfer to a wire rack to cool completely. Rushing this means warm buttercream that slides right off.
- Cream the frosting butter:
- Beat the butter on medium speed for about 2 minutes until it's creamy and pale. Then gradually add powdered sugar on low speed so it doesn't cloud your kitchen in a white powder.
- Tint your blues:
- Divide buttercream into 3-4 bowls and add gel coloring drop by drop. Start with deep ocean blue, then pale aqua, and keep one portion white. You're creating a gradient, so mix thoroughly and taste-test if you use gel (it won't hurt you).
- Apply the crumb coat:
- Spread a thin layer of white buttercream over the entire cooled cake—this seals in crumbs. Chill for 20 minutes so the next layer adheres cleanly.
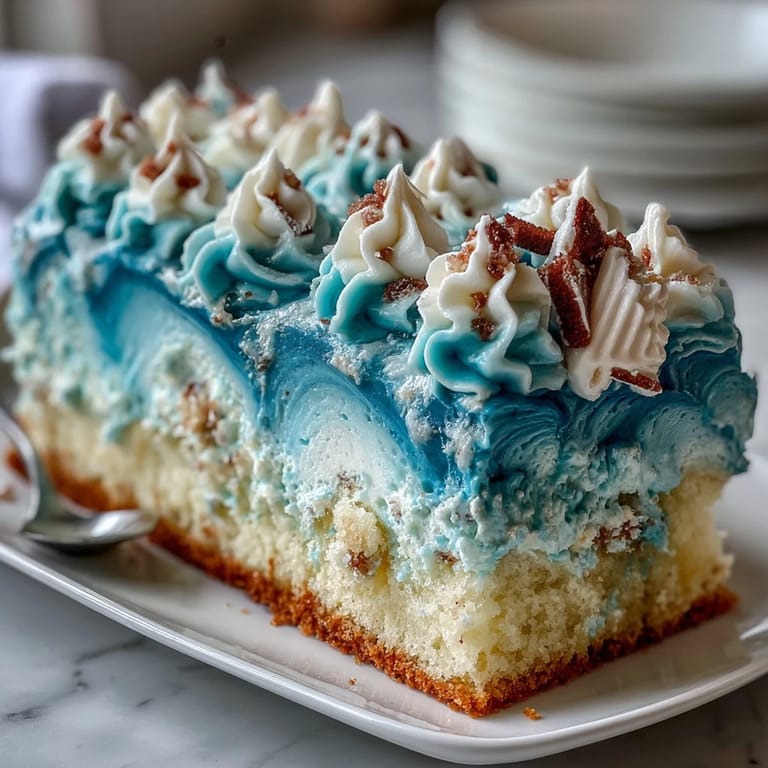
- Create ocean waves:
- Using an offset spatula, layer your blue buttercreams in swooping, wave-like motions. Start with the darkest shade at the bottom and work toward the lightest at the top, letting colors blend where they meet.
- Pipe sea foam:
- Use a piping bag with a round or petal tip to add white buttercream swirls on top, mimicking waves crashing. These peaks are where you add edible pearls if you're using them.
- Final details (optional):
- Add a Pisces symbol made from white chocolate or fondant if you want that extra touch of celestial magic.
 Pin it
 Watching my friends photograph that cake before cutting into it felt oddly special. One of them said, "This is almost too pretty to eat," and someone else immediately replied, "Almost." We all laughed and dug in, and the moment the forks hit the plate, the cake became exactly what it was meant to be—something delicious shared around a table.
Why the Vanilla Base Works
A vanilla sponge might sound simple, but it's actually the smartest choice for a decorated cake. It doesn't compete with the visual drama of those ocean waves, and the mild flavor lets you appreciate the buttery, smooth frosting. Plus, vanilla is the backdrop that makes flavoring variations easy—next time, try adding lemon zest to the batter if you want something brighter.
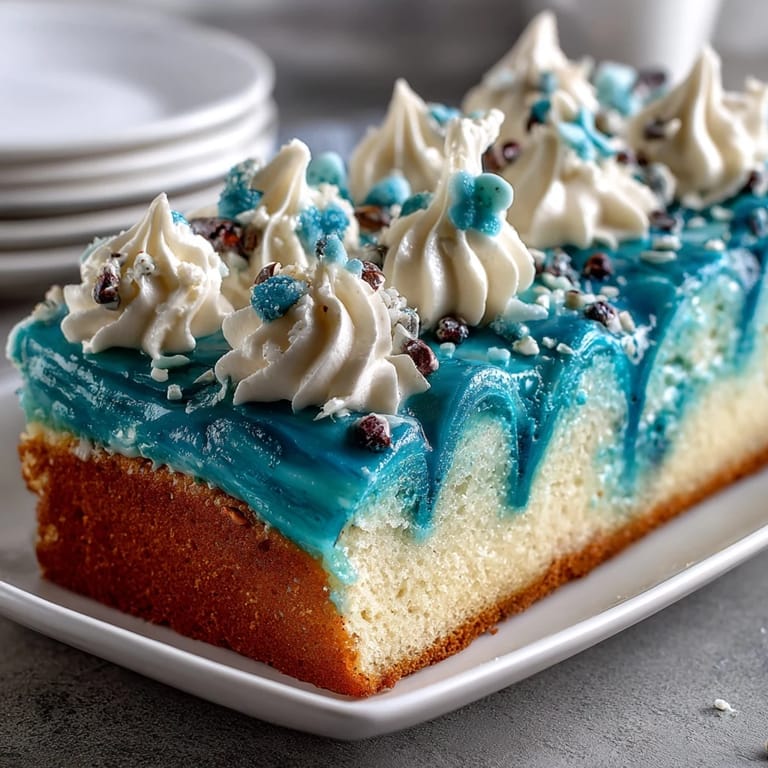
The Ombré Buttercream Technique
The magic of this cake lives in how the blue shades blend. You're not supposed to have hard lines between colors; instead, let them merge naturally as you layer. The darkest blue anchors the design at the bottom, and each layer gets lighter as you move up, creating depth that makes the cake look three-dimensional even though it's flat.
Timing and Temperature Tips
This cake comes together faster than you'd think, but timing matters. The preparation takes about 35 minutes, baking 30, and then cooling completely takes patience. If you rush the cooling step, warm cake will soak up buttercream unevenly, and decorating becomes messy. Plan ahead—bake the cake the day before if you want to decorate it fresh without stress.
- Chill the frosted cake between decoration steps for cleaner, sharper wave lines.
- Use an offset spatula for smooth, swooping motions that look intentional rather than clumsy.
- If your buttercream gets too soft while decorating, pop it back in the fridge for 10 minutes and it'll firm right up.
 Pin it
 This cake became my go-to for celebrating people, not just because it's beautiful, but because it carries a story. Every time someone asks for the recipe, I'm reminded of that afternoon in the kitchen when my cousin turned a zodiac sign into something we could actually taste and share. That's the kind of magic worth baking.
Frequently Asked Questions
- → How do you achieve the ombré blue buttercream?
Divide the buttercream into several portions and tint each with varying shades of blue gel food coloring, from dark to light. Layer and blend these on the cake to create a gradient effect resembling ocean waves.
- → What type of cake pan is ideal for baking the sponge?
A 9x13-inch sheet cake pan lined with parchment paper works best to ensure even baking and easy removal.
- → Can I prepare the cake ahead of time?
Yes, bake the cake and chill it thoroughly before applying the buttercream layers to ensure clean piping and set decorations.
- → What tools help create the wave decorations?
Use an offset spatula for layering the buttercream waves and piping bags with round or petal tips to shape the sea foam and wave accents.
- → Are there optional decorations to enhance the cake’s appearance?
Edible pearls and a Pisces symbol crafted from white chocolate or fondant add elegant finishing touches to the design.