 Save
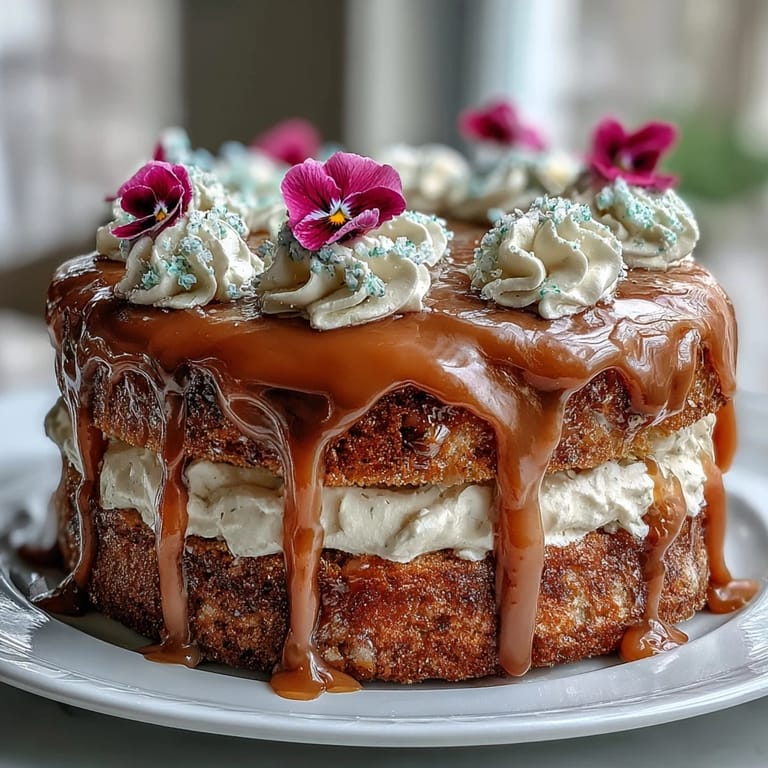
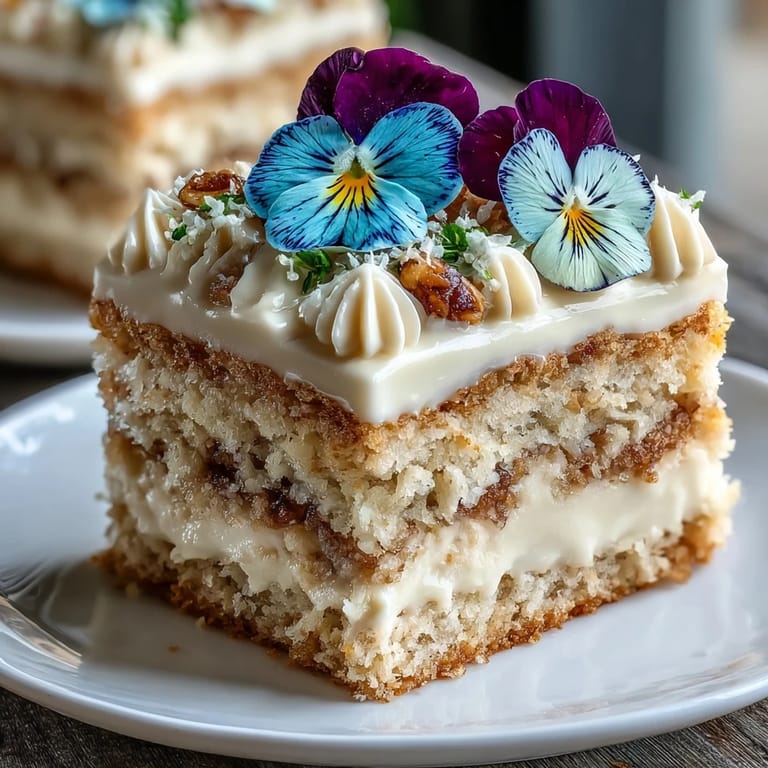
Save My sister called me in a panic two days before her birthday, asking if I could make something small and elegant for her garden tea party. I'd never made mini layer cakes before, but standing in her kitchen with afternoon light streaming through the windows, I decided to create something delicate that would match the spring flowers blooming in her yard. The idea of baking thin, tender cake rounds and stacking them with pastel buttercream felt exactly right for the occasion. What started as a favor became an unexpected discovery about how satisfying it is to make something this beautiful with your own hands.
I remember my sister's guests arriving, each one stopping mid-conversation to photograph their individual cake before eating it. Someone asked if I'd taken a pastry course, and I had to laugh because the truth was simpler and messier—I'd just followed my instinct and learned as I went. That afternoon taught me that homemade doesn't need to mean complicated; it just needs care and a little creative thinking.
Ingredients
- All-purpose flour: The foundation keeps the crumb tender rather than dense, and measuring by weight gives you the most consistent results if your kitchen is humid.
- Baking powder: Just enough lift to make the cakes delicate without them rising too much for stacking.
- Unsalted butter: Room temperature is non-negotiable here because cold butter won't cream properly and you'll end up with a dense texture.
- Granulated sugar: Creates that pale, fluffy mixture that traps air for a light crumb.
- Eggs at room temperature: Cold eggs won't incorporate smoothly into the butter and sugar, which means a less airy cake.
- Lemon zest: This is what separates these cakes from ordinary vanilla; just the brightest notes without any sourness.
- Whole milk: Keeps everything moist and tender, and room temperature milk mixes in without shocking the batter.
- Powdered sugar for buttercream: Sifted ahead of time prevents lumps that will show up as grittiness when you spread it.
- Food coloring (optional): Pastel shades feel spring-like, but honestly, leaving the buttercream white is equally elegant.
- Edible flowers: This is where the magic happens—source these from reputable suppliers only, because pesticide-treated flowers will ruin the whole endeavor.
Tired of Takeout? 🥡
Get 10 meals you can make faster than delivery arrives. Seriously.
One email. No spam. Unsubscribe anytime.
Instructions
- Set your stage:
- Preheat to 350°F and line your baking sheet with parchment, then give it a light grease so nothing sticks when you're unmolding. This matters more than you'd think with delicate cake rounds.
- Build the dry mixture:
- Whisk flour, baking powder, and salt together and set aside—this prevents overmixing later.
- Cream butter and sugar:
- Beat them for about 3 minutes until the mixture looks pale and fluffy, like whipped clouds. This is where the cake gets its tender structure, so don't rush it.
- Add eggs with intention:
- Add them one at a time and beat well after each, so they fully incorporate and don't deflate the mixture. Mix in vanilla and lemon zest until everything smells bright.
- Alternate and fold gently:
- Add half the flour mixture, then the milk, then the rest of the flour, mixing just until combined each time. Overmixing here develops gluten and makes the cake tough.
- Spread and bake:
- Pour the batter onto your prepared sheet and spread it evenly—it should be thin and delicate. Bake for 18–22 minutes until a toothpick comes out clean and the cake is just starting to turn golden at the edges.
- Cool completely:
- Let it cool on the baking sheet so it doesn't crack or fall apart when you cut it.
- Cut your rounds:
- Using a 2.5–3 inch round cutter, cut 12 circles total—that's 2 per mini cake. Re-roll any scraps gently to get extra rounds if needed.
- Make the buttercream:
- Beat softened butter until creamy, then gradually add sifted powdered sugar while beating to avoid lumps. Add vanilla, salt, and 1 tablespoon of milk, beating until light and fluffy; add more milk if it feels too stiff to spread.
- Tint if you're feeling playful:
- A few drops of pastel food coloring transforms the buttercream into something spring-ready, but this is entirely optional.
- Stack with care:
- Place one cake round on a plate, spread a thin layer of buttercream on top, then add the second round and one more thin layer of buttercream on that.
- Decorate the crown:
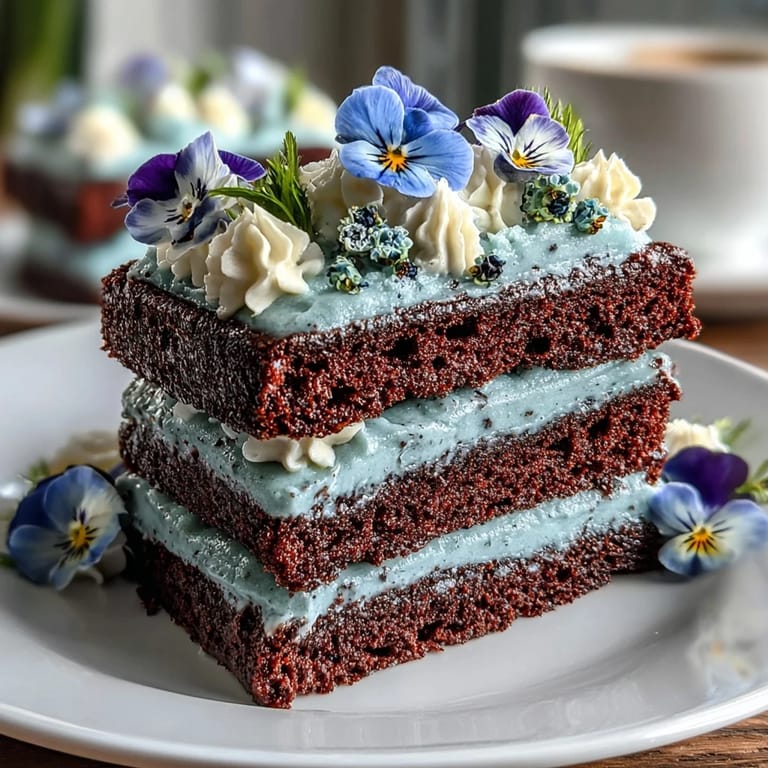
- Pipe or spread buttercream on top of each mini cake, creating small peaks and swirls where your edible flowers will nestle. Arrange the flowers artfully—they should look natural, not forced.
- Chill before serving:
- Fifteen minutes in the fridge lets the buttercream set slightly and the flavors settle together.
 Pin it
 What struck me most was watching my sister take the first bite, closing her eyes like she was tasting something more than cake. She told me later that what made it special wasn't the flowers or the buttercream—it was knowing I'd stood in her kitchen and made something beautiful just for her birthday.
The Secret of Tender Cake Rounds
Thin sheet cakes bake faster and more evenly than thick ones, and that's exactly what makes them perfect for stacking. The key is spreading your batter truly thin and even across the whole sheet—use an offset spatula to level it out before the oven. When it comes out golden but still slightly soft to the touch, you've hit the sweet spot; overbaking will make assembly brittle and frustrating.
Decorating Like You Mean It
The buttercream is your canvas, and the edible flowers are your brushstrokes. Don't overthink the arrangement—a few delicate flowers placed with confidence look far better than overcrowding the top. The prettiest cakes are the ones where you can see the buttercream peeking through and the flowers look like they might have landed there naturally.
Timing and Storage
These mini cakes are best served the same day they're assembled, though the unfrosted cake rounds keep for two days in an airtight container. If you're making them ahead, assemble them a few hours before serving and keep them chilled until guests arrive. The buttercream between the layers softens slightly at room temperature, creating a tender, almost melting texture that's honestly better than eating them straight from the fridge.
- Brush the cake rounds lightly with a citrus syrup (equal parts sugar, water, and lemon juice) before frosting for extra moisture and brightness.
- Leftover cake scraps freeze beautifully and can become cake pops or a trifle down the line.
- If flowers wilt before serving, keep them in a barely damp paper towel in a cool spot and add them at the last moment.
 Pin it
 These mini cakes prove that something small can feel celebratory and thoughtful. Make them for someone you want to impress, or make them for yourself and take a moment to appreciate what your hands can create.
Frequently Asked Questions
- → What kind of edible flowers work best?
Violas, pansies, and nasturtiums are great choices, ensuring they are food-safe and pesticide-free for safe consumption.
- → How can I add more citrus flavor?
Lightly brushing the cake layers with citrus syrup before assembly enhances the lemon zest and brings bright, fresh notes.
- → Can I tint the buttercream frosting?
Yes, pastel food coloring can be gently mixed into the buttercream to create soft, festive colors.
- → What tools are needed for shaping the cakes?
A 2.5–3 inch round cookie cutter is used to cut portioned cake rounds for the mini layers.
- → How should I store the cakes before serving?
Keep the assembled mini cakes refrigerated and chill for at least 15 minutes before serving to maintain texture and freshness.
- → Are there allergen concerns with edible flowers?
Some edible flowers may cause allergic reactions; check flower types carefully, especially for sensitive individuals.