 Save
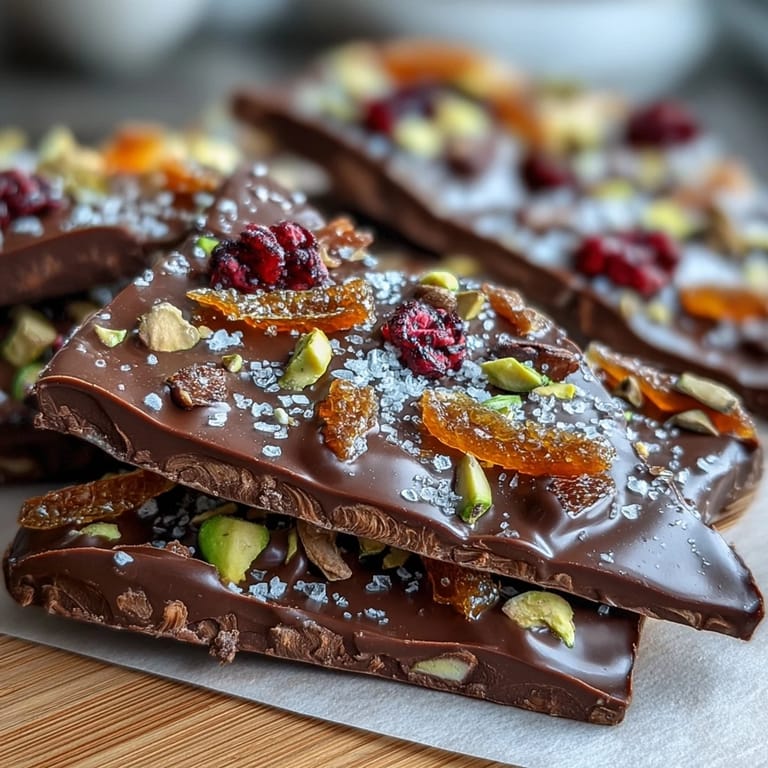
Save My sister called me in a panic two days before Valentine's Day, asking if I could make something elegant she could give to her new partner's family. I had candied orange peel leftover from holiday baking and a block of really good dark chocolate, so I threw together this bark on my kitchen counter while humming along to the radio. Twenty minutes later, I realized I'd accidentally created something that looked like it came from a fancy chocolatier, not my slightly chaotic Tuesday afternoon.
When my sister brought these pieces to her partner's family dinner, their mom actually stopped mid-conversation and asked for the recipe. That moment—when someone wants to recreate something you made with your own hands—is when you know you've nailed it. I've made five batches since, and each time someone asks if I sell them.
Ingredients
- 300 g high-quality dark chocolate (70% cocoa), chopped: The cocoa percentage matters here because it gives you that grown-up bittersweet flavor that doesn't get drowned out by sweetness, and chopping it into smaller pieces helps it melt more evenly and smoothly.
- 80 g candied orange peel, finely chopped: This is where the magic happens—the candied peel adds brightness and chewiness that contrasts beautifully against the smooth chocolate, and finely chopping it ensures every bite gets the citrus note.
- 2 tbsp roasted pistachios, chopped (optional): Pistachios add an unexpected earthiness and gorgeous green color that makes the bark pop visually, though you can skip them entirely if you're avoiding nuts.
- 2 tbsp freeze-dried raspberries (optional): These little bursts of tartness add a second fruit note and create beautiful color contrast, plus they're surprisingly crispy against the chocolate.
- Sea salt flakes, for sprinkling: A tiny pinch of good sea salt amplifies the chocolate flavor and keeps the sweetness from feeling one-dimensional.
Tired of Takeout? 🥡
Get 10 meals you can make faster than delivery arrives. Seriously.
One email. No spam. Unsubscribe anytime.
Instructions
- Set your stage:
- Line your baking sheet with parchment paper or a silicone mat—this step takes thirty seconds but saves you from chocolate-stuck-to-metal situations later.
- Melt the chocolate gently:
- If using a double boiler, place your chopped chocolate in the bowl and let the steam work its magic, stirring occasionally until it's completely smooth and glossy. If you're using a microwave instead, go slowly with 30-second bursts and stir between each one—this prevents those annoying burned-chocolate spots that happen when chocolate gets too hot all at once.
- Spread your canvas:
- Pour the melted chocolate onto your prepared sheet and use an offset spatula (or the back of a spoon in a pinch) to spread it into a thin, even rectangle about 1/4 inch thick. Work quickly but gently because the chocolate will start cooling almost immediately, and you want it smooth, not streaky.
- Add your toppings while the chocolate is still warm:
- Scatter the candied orange peel evenly across the surface, then add pistachios and freeze-dried raspberries if you're using them, finishing with a light sprinkle of sea salt. The warmth of the chocolate helps the toppings stick better than if you wait.
- Press everything down:
- Use your spatula or the back of a spoon to gently press the toppings into the chocolate so they're anchored and won't fall off when you break the bark into pieces later.
- Let it set patiently:
- At room temperature, this takes about an hour, but if you're impatient (like me), pop it in the refrigerator for 20 to 30 minutes until it's completely firm and doesn't feel tacky when you touch it.
- Break and store:
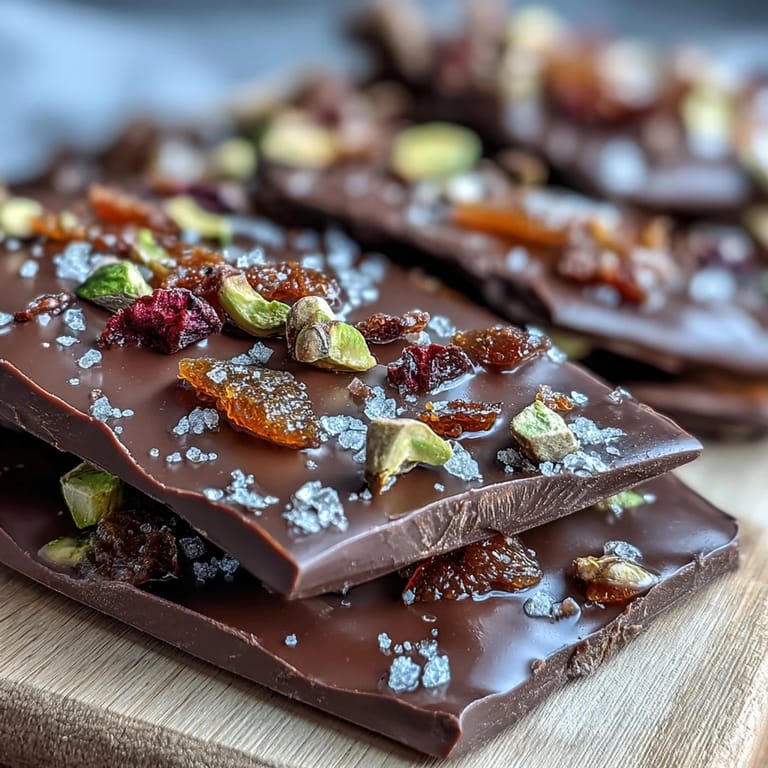
- Once fully set, use a sharp knife or just break it into roughly 12 pieces with your hands—the jagged edges actually look more artisanal. Store in an airtight container at cool room temperature, where it'll keep for up to two weeks (though it never lasts that long in my house).
 Pin it
 I made a batch of this for my coworker who'd been going through a rough breakup, and she texted me later saying she'd shared it with her best friend and they'd turned it into a whole afternoon ritual. Sometimes food becomes the excuse for people to sit together and feel a little less alone, and that's when you realize you're not just making candy—you're making moments.
Why Candied Peel Changes Everything
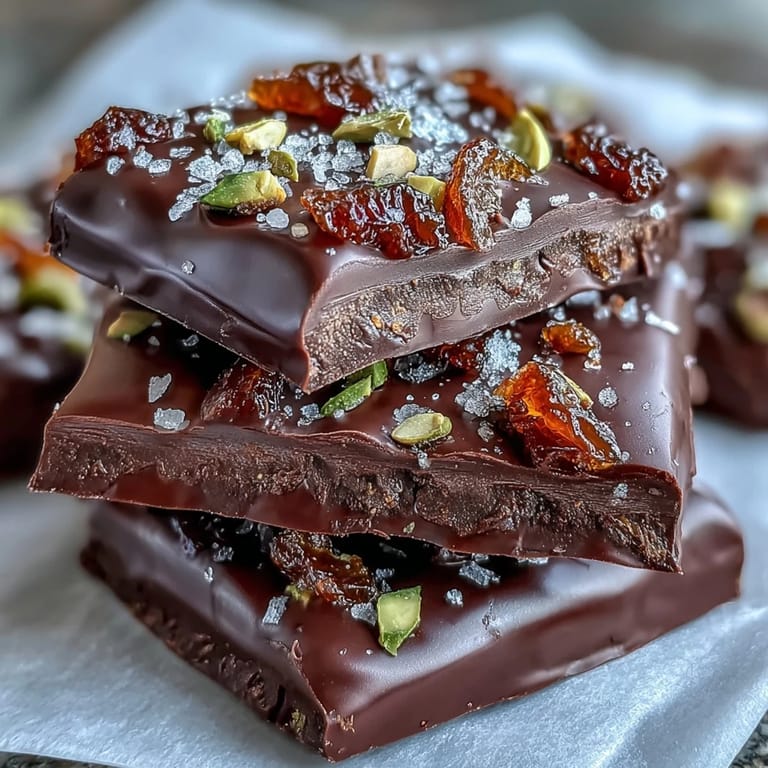
The candied orange peel is really the soul of this recipe, and I learned this the hard way when I tried making bark with regular dried orange once. The difference is that candied peel has been gently preserved in sugar, so it stays chewy and bright instead of turning leathery and bitter, and it carries that wonderful citrus perfume that just makes people wonder what secret ingredient you used. You can make your own candied peel if you're feeling ambitious, but store-bought works beautifully too.
Customizing Your Bark
One of my favorite things about this recipe is how flexible it is, so don't feel locked into the exact toppings I've listed. I've made versions with toasted coconut flakes, crushed honeycomb candy, edible gold leaf for gifts, and even a savory-sweet version with herbs like dried lavender. The chocolate-and-candied-citrus base is your anchor, and everything else is just you playing around.
The Gift That Keeps Giving
What I love most about gifting this bark is that it feels handmade without requiring you to be a pastry chef—people genuinely think you spent hours on it when you actually spent twenty minutes. Wrap a few pieces in wax paper, tie it with twine, and suddenly you have a gift that tastes expensive and personal. If you're making multiple batches for friends or coworkers, you can even line them up on your counter and feel like a small-scale chocolatier for an afternoon.
- Package it in small boxes or cellophane bags with a ribbon for an Instagram-worthy presentation that takes thirty seconds but looks polished.
- Include a little note about what you used—people love knowing that their chocolate contains real candied fruit instead of flavoring, and it makes the gift feel more thoughtful.
- Make a test batch a day ahead of your actual gifting so you can taste it and make sure you're happy with the balance of flavors before you wrap everything up.
 Pin it
 This bark has become my go-to when I want to make someone feel special without overthinking it. It's the kind of recipe that reminds you that simplicity, when done with good ingredients and a little care, is actually the most elegant thing you can make.
Frequently Asked Questions
- → What type of chocolate is best for this treat?
Use high-quality dark chocolate with around 70% cocoa for the richest flavor and smoothest texture.
- → Can I substitute the candied orange peel?
Yes, candied lemon peel works well for a different citrus twist while maintaining a similar texture.
- → How should I store the finished bark?
Keep it in an airtight container at cool room temperature for up to two weeks to preserve freshness.
- → Are there nut-free topping options?
For a nut-free version, omit pistachios and consider using sunflower seeds or just the fruit toppings.
- → What tools are recommended for preparation?
A baking sheet lined with parchment or silicone mat, a double boiler or microwave-safe bowl for melting chocolate, and an offset spatula will make the process easier.